


This article will be giving an in-depth introduction to accessing Microsoft Power Automate Cloud Interface and how anyone can automate unique/mundane tasks (depending upon the complexity) irrespective of technical background by using Microsoft Power Automate Cloud Flow.
Logging into the Microsoft Power Automate:
There are three distinct experiences of using Power Automate:
Cloud Flow – The user can use the cloud interface to design, import, save, export, and execute the flow.
Mobile App – The user can use this interface for designing, importing, saving, exporting, and executing flows, formatted specifically for mobile devices.
Desktop Flow: It’s mostly used for creating RPA flows on a desktop.
How to access Microsoft Power Automate Web Interface?
To access it, the user can log in to https://powerautomate.microsoft.com or log in to the Microsoft 365 end-user portal (https://portal.office.com) and click on the Power Automate tile. This is the interface that can be used to design, manage, and execute most of the flows.
The web portal interface is depicted below:
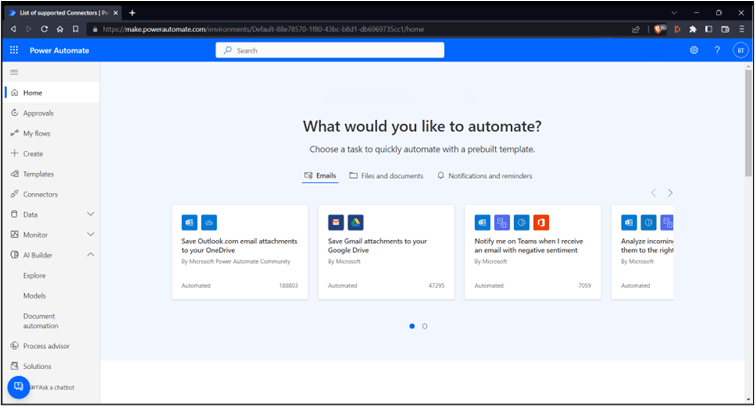
On the left part of the page, you will have a navigation menu that includes an option to review action items, as well as to create and manage the flow and search for templates and connectors.
Below are the options available in the navigation menu:
Home:
This is the main page which will provide you with some basic options to quickly automate with a prebuilt template. Currently, there are three options that you can select to start creating emails, files and notifications, and reminder workflows.

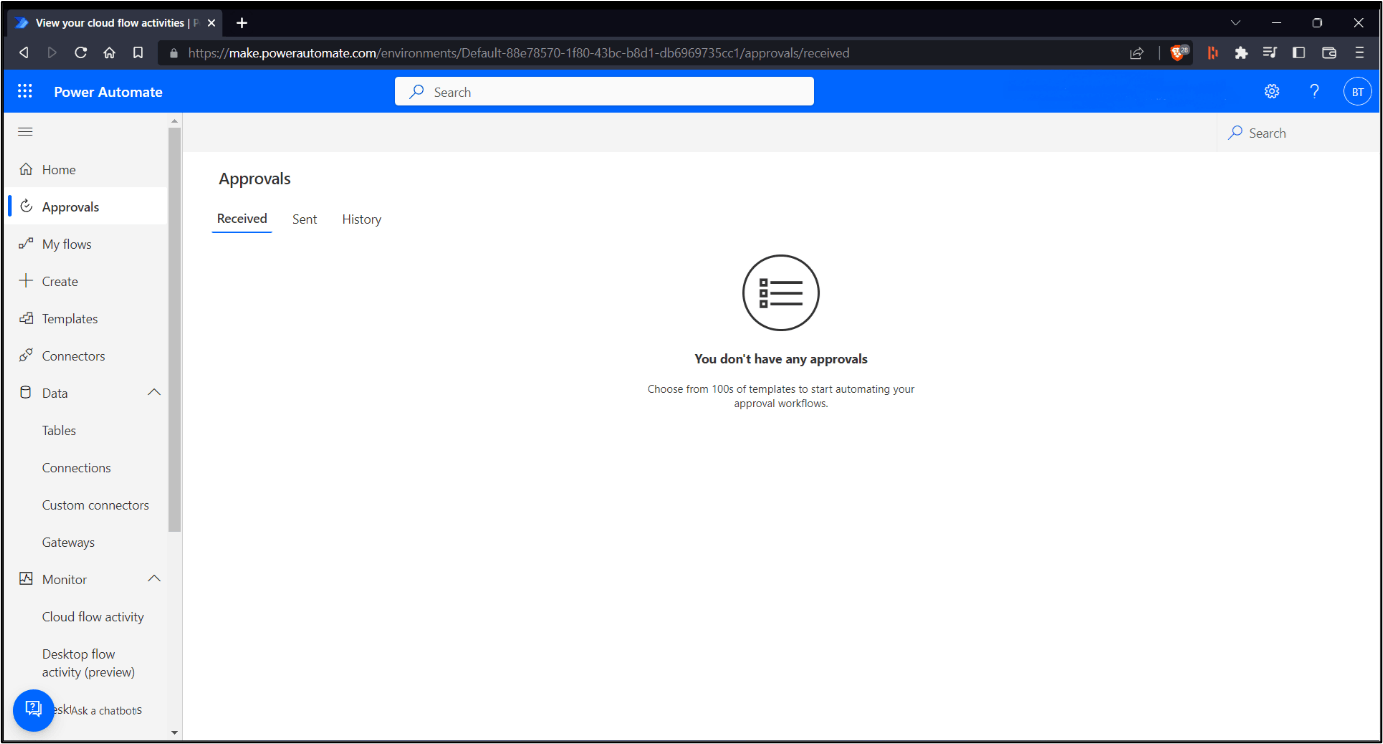
Approvals:
It is a built-in action that is used in approval scenarios. With the approvals capability in Power Automate, you can automate sign-off requests and combine human decision-making for workflows.
If you have created any flow which is pending approval, then it will be displayed in the approval section.
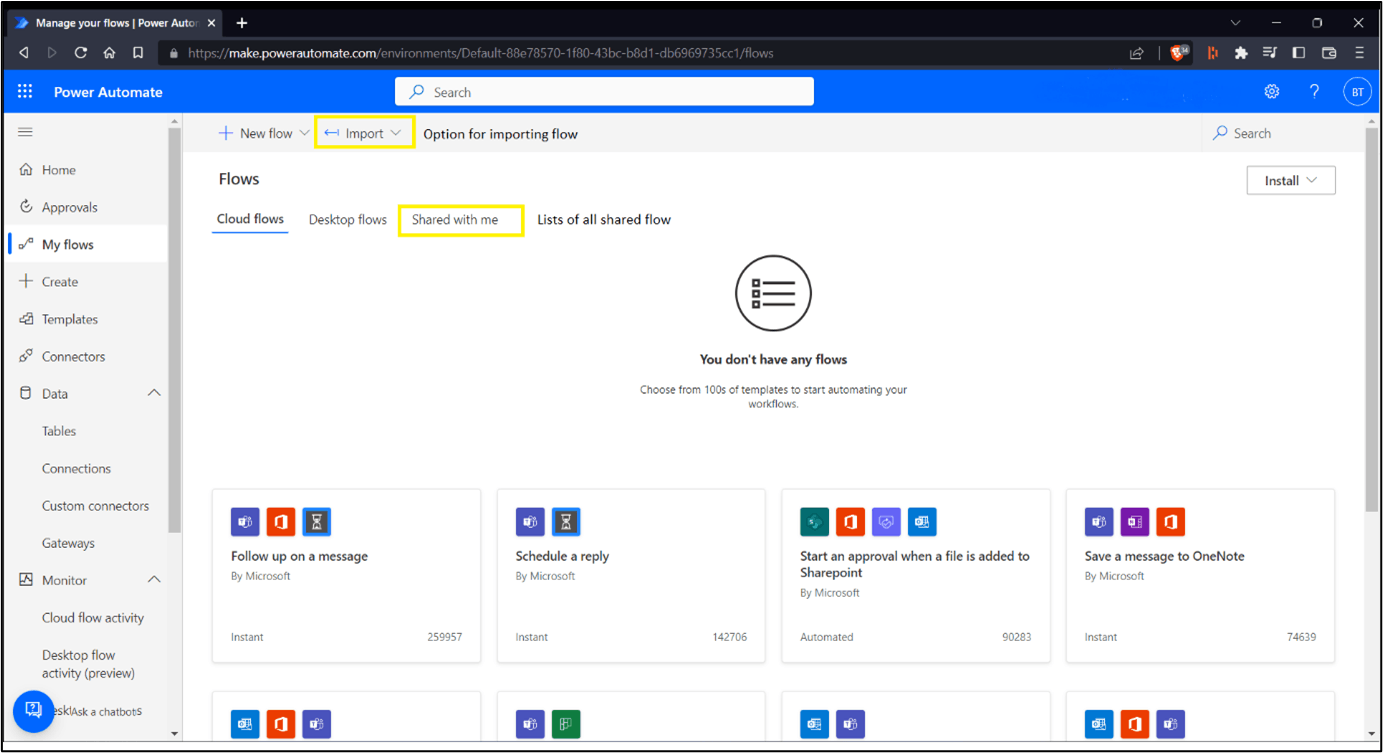
My Flows:
Displays the flows that you have created also if someone in an organization shares their flow can be accessed within this category of the My Flows page. You also have the option to import the flow in power automate with the My Flows option.
Create:
Create option provides a different method to get started with creating your flow. There are several options to create flow. Like if we want to create a flow from scratch then you can select any of the available options under the “Start from blank” section.

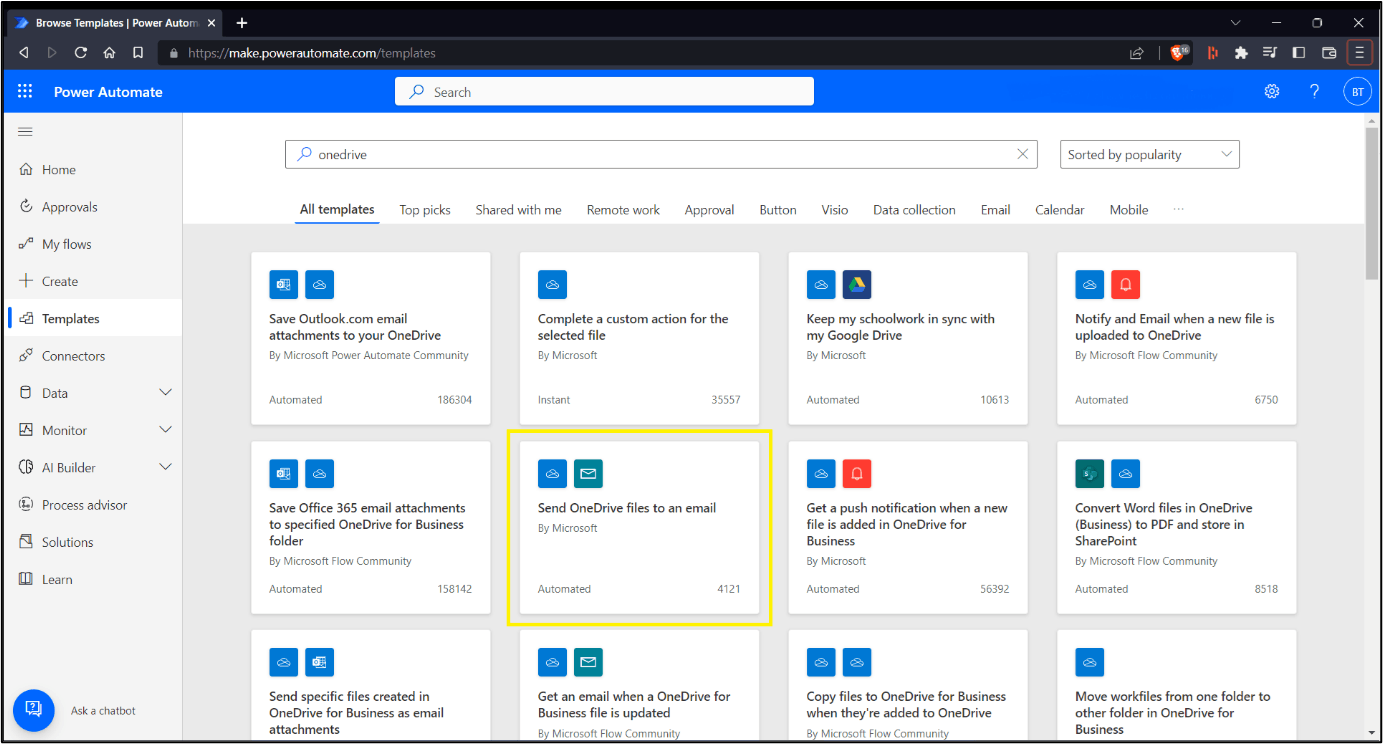
Templates:
It consists of all the templates that are already created by other users, and these templates are shared publicly to create flow with ease. You can see hundreds of different templates available for use.
For example, if you want to create a flow that sends one drive files to email, you can search for that template, and clicking it will provide you with all the details about how to use and customize it so that you can use it for your purpose.
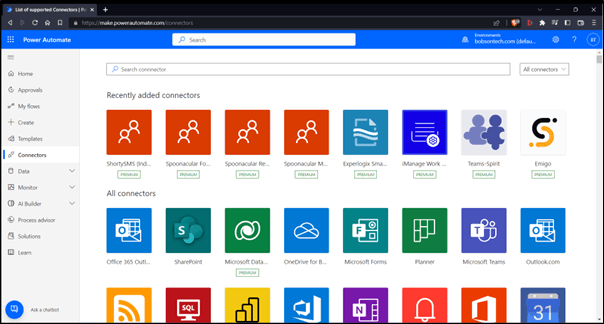
Connectors:
Connectors are the main and crucial part of Microsoft Power Automate. They are applications that can serve as trigger connections or actions to our flow.
There are set of hundreds of connectors available in Power Automate for use, also there are some connectors that are tagged with premium. It means that you should have a premium account of Microsoft Power Automate.
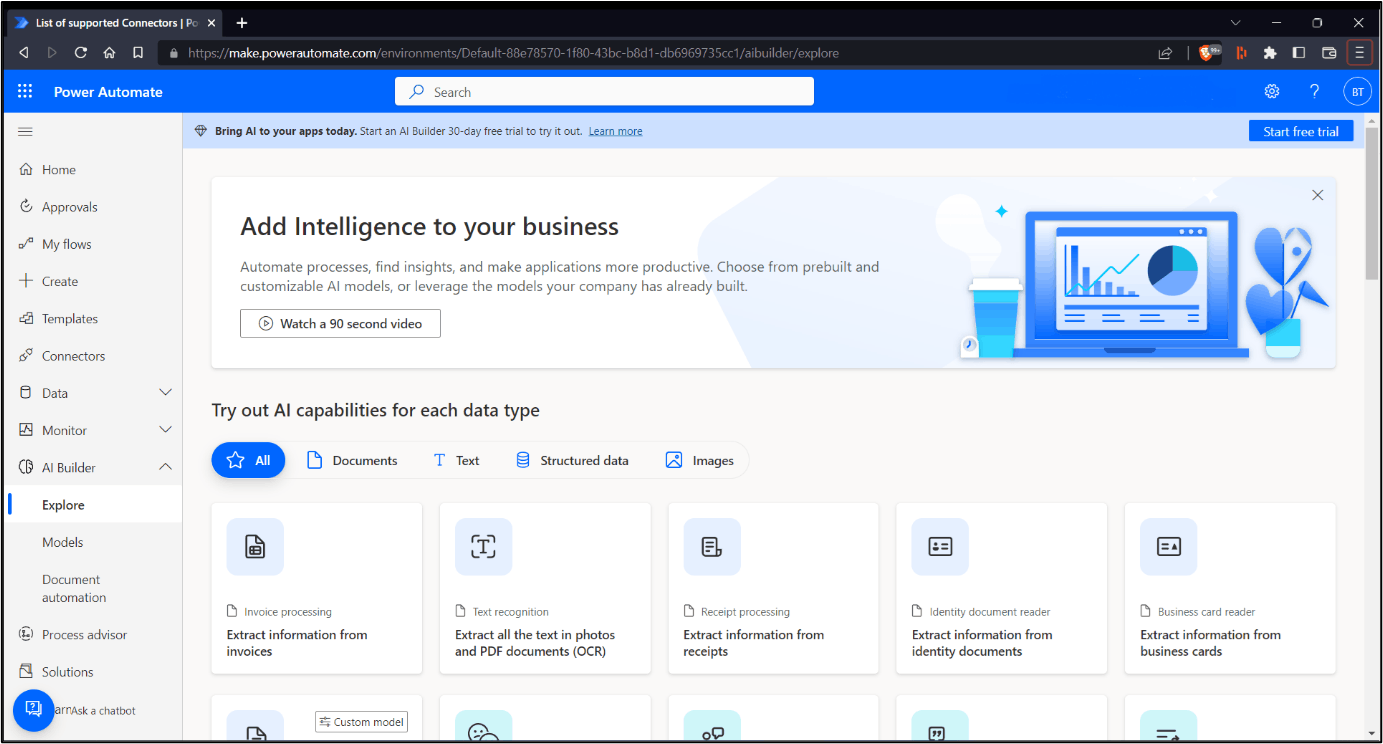
AI Builder:
AI Builder is a Microsoft Power Platform capability that provides AI models that are designed to optimize your business processes. AI Builder enables your business to use intelligence to automate processes and glean insights from your data in Power Apps and Power Automate.
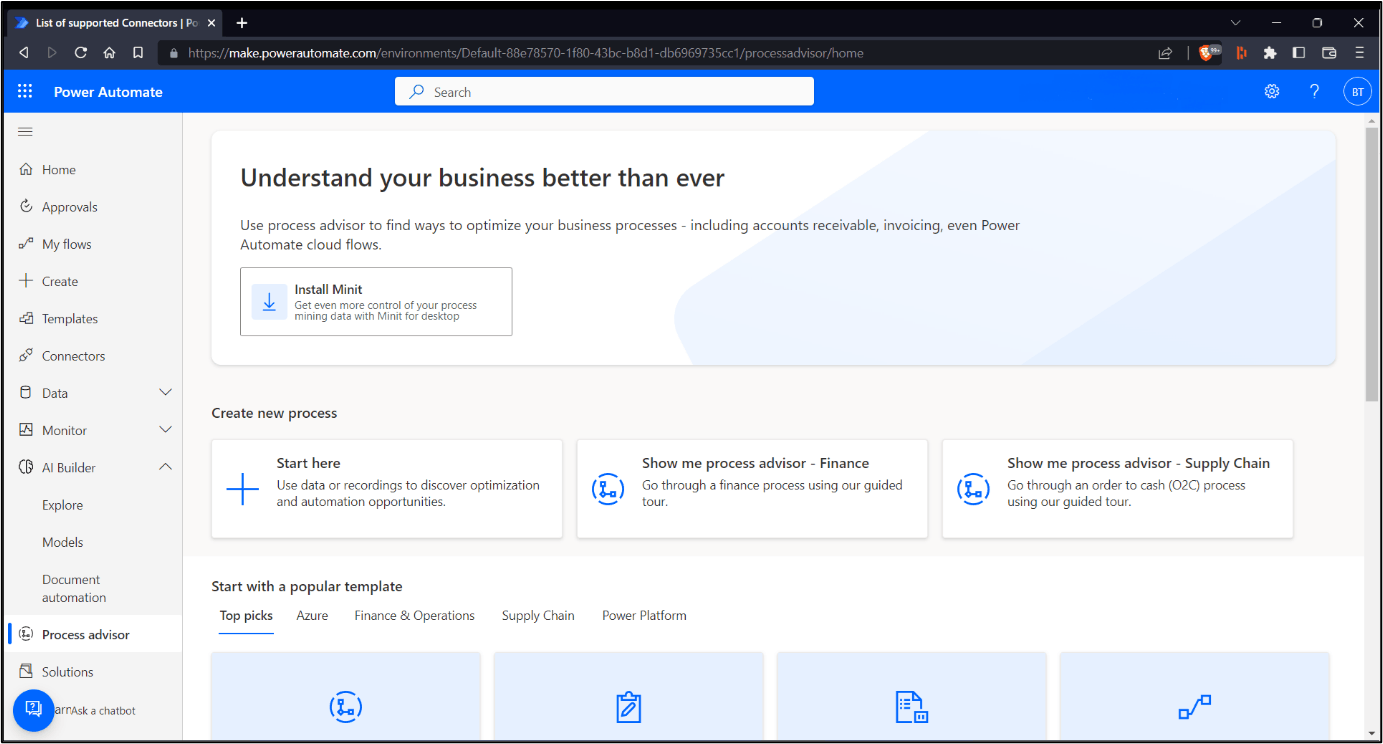
Process Advisor:
The process advisor feature allows you to gain a better understanding of your business processes so you can optimize them. Through Process Advisor, we can not only see what the roadblocks are but also what can be automated, but we can also get a recommendation for which actions a Power Automate flow could be used for achieving the wanted automatization of this business process.
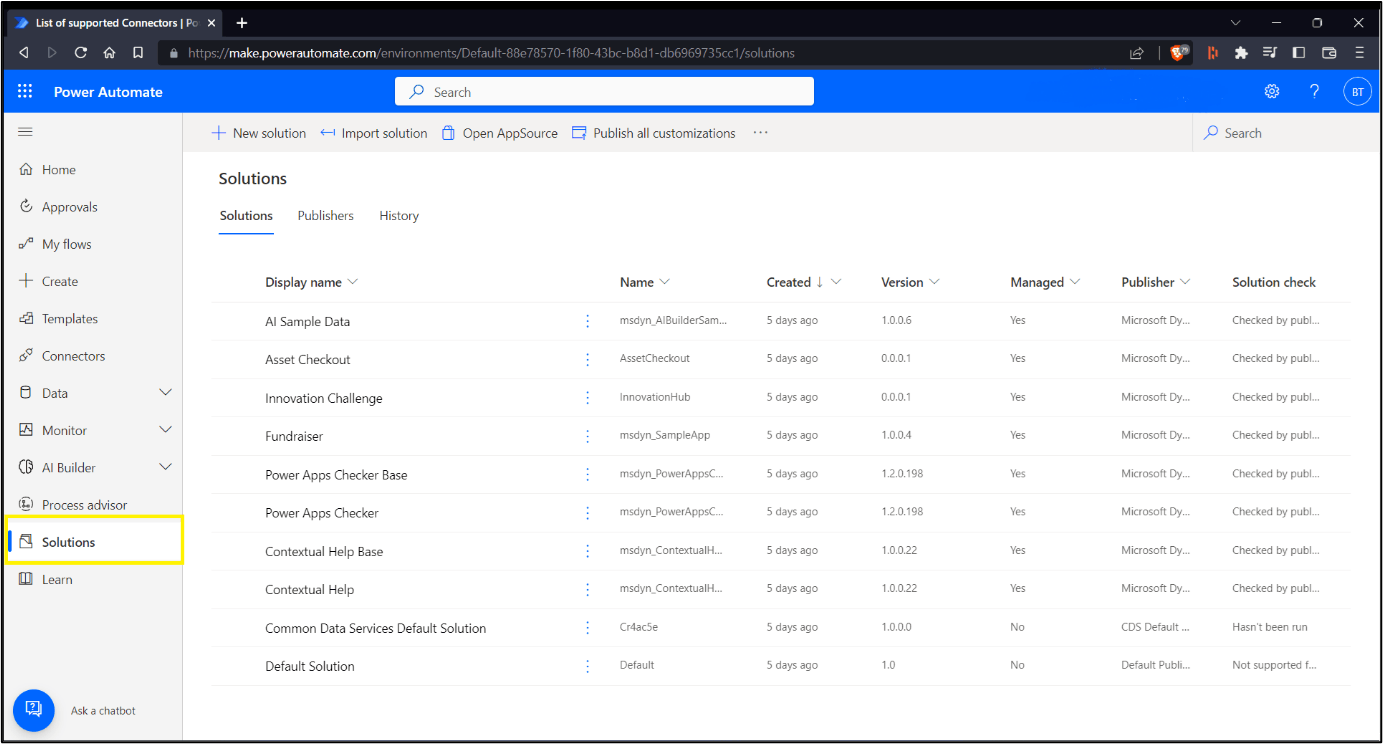
Solutions:
The Solution is part of Microsoft Power Automate, which will allow you to integrate other Microsoft Power Platform services like Microsoft Power Apps Portals, Power BI, and other stuff.
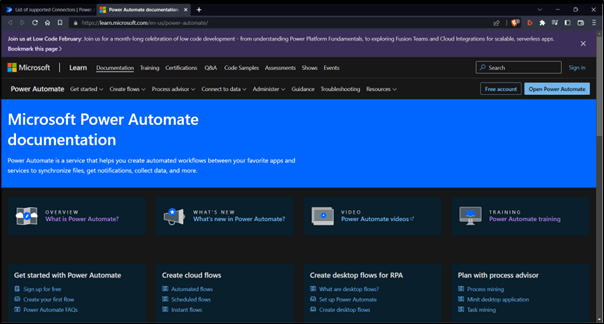
Learn:
It will redirect us to the documentation of Microsoft Power Automate here. If we want to get any kind of information, then we can get all the things that we can use to learn. A link to the landing page for Power Automate in the Microsoft documentation (https://learn.microsoft.com/en-us/power-automate/))
So that's all about the basic walk-through to the interface of Microsoft Power Automate. These are all the different sections that will help you to easily navigate into the interface of Microsoft Power Automate web interface.
"Happy Automation"